Salt
By Chris
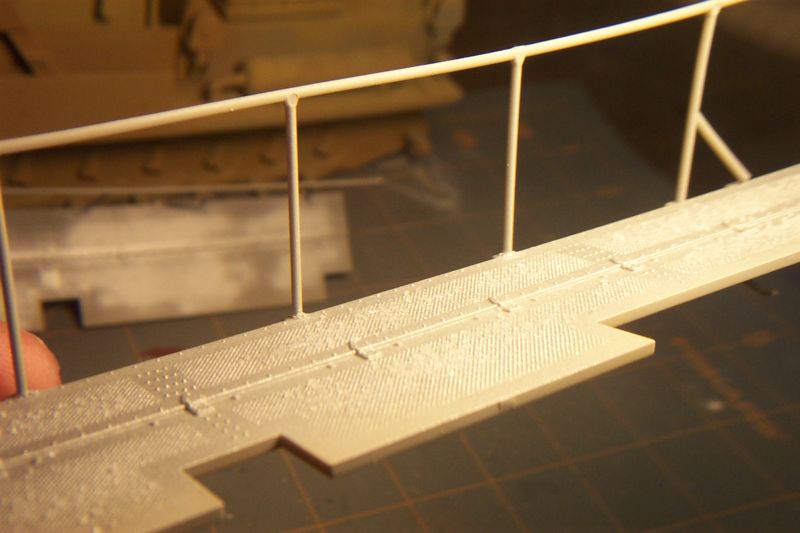
Step 1:
Put down base coat of what ever color is to be exposed,
whether it be the primer, the metal or what ever. On this example I
used metal.
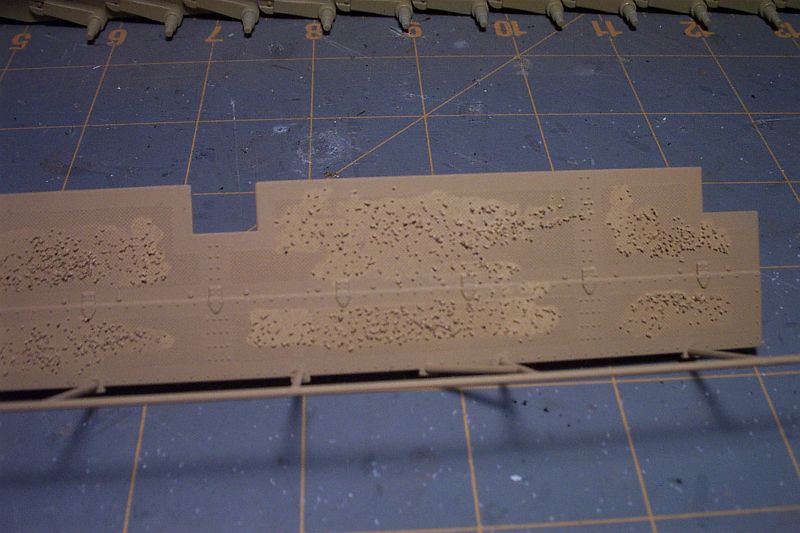
 Step 2:
Brush on a bit of water ( after the first coat has dried
of coarse ) and then I like to sprinkle the salt among the watered
areas. This is something I noticed doing this one. It seems that salt
is not very consistant in grain size. On my Marder I used some that
was very coarse and decent sized, this time it looks like the grains
are finer and not quite as big. More on that in a bit.
Be sure not to put to much salt on it, it can dissolve
causeing a whole other effect, allthough it did work out to my
benifit on the Marder. Set to the side to let the water dry now.
Step 3:
Once the water is dry, it's time to paint the top coat. Be
sure to put not only the primary color but all the camo as well.
Step 2:
Brush on a bit of water ( after the first coat has dried
of coarse ) and then I like to sprinkle the salt among the watered
areas. This is something I noticed doing this one. It seems that salt
is not very consistant in grain size. On my Marder I used some that
was very coarse and decent sized, this time it looks like the grains
are finer and not quite as big. More on that in a bit.
Be sure not to put to much salt on it, it can dissolve
causeing a whole other effect, allthough it did work out to my
benifit on the Marder. Set to the side to let the water dry now.
Step 3:
Once the water is dry, it's time to paint the top coat. Be
sure to put not only the primary color but all the camo as well.
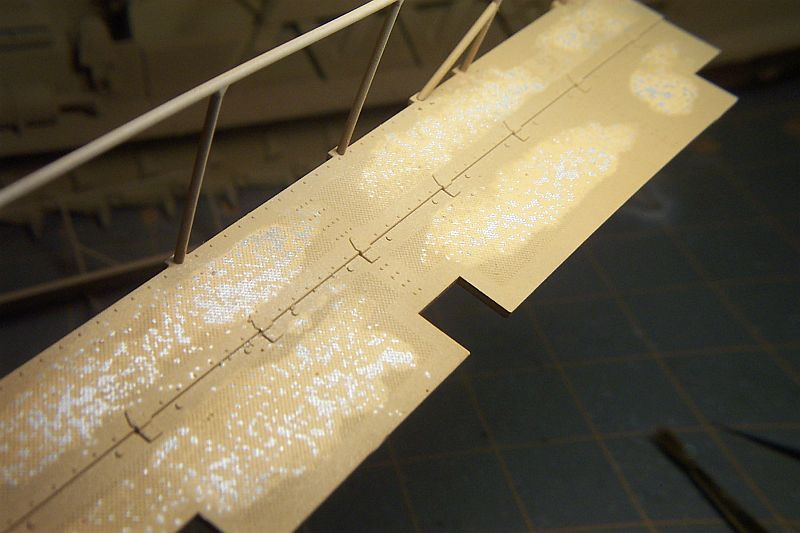
 Step 4:
After this is all done there is two possibilties to go
with. To get a look of where the paint is peeling , start knocking
off the salt while the paint is still a bit tacky. This will cause
the edges of the salted areas to lift up slightly when you remove the
salt. To get a look of been chipped for a while, just wait till the
paint is dry and it will all be smooth. For this demonsration, it
seems that since the salt was small , the look is not as prominent as
I have achieved before, but you should be able to get the basic idea.
Step 4:
After this is all done there is two possibilties to go
with. To get a look of where the paint is peeling , start knocking
off the salt while the paint is still a bit tacky. This will cause
the edges of the salted areas to lift up slightly when you remove the
salt. To get a look of been chipped for a while, just wait till the
paint is dry and it will all be smooth. For this demonsration, it
seems that since the salt was small , the look is not as prominent as
I have achieved before, but you should be able to get the basic idea.
 Now you know how to add some flavor to your builds. Just
remember to put some newspaper under the build to catch all the salt,
it will get everywhere.
Now you know how to add some flavor to your builds. Just
remember to put some newspaper under the build to catch all the salt,
it will get everywhere.